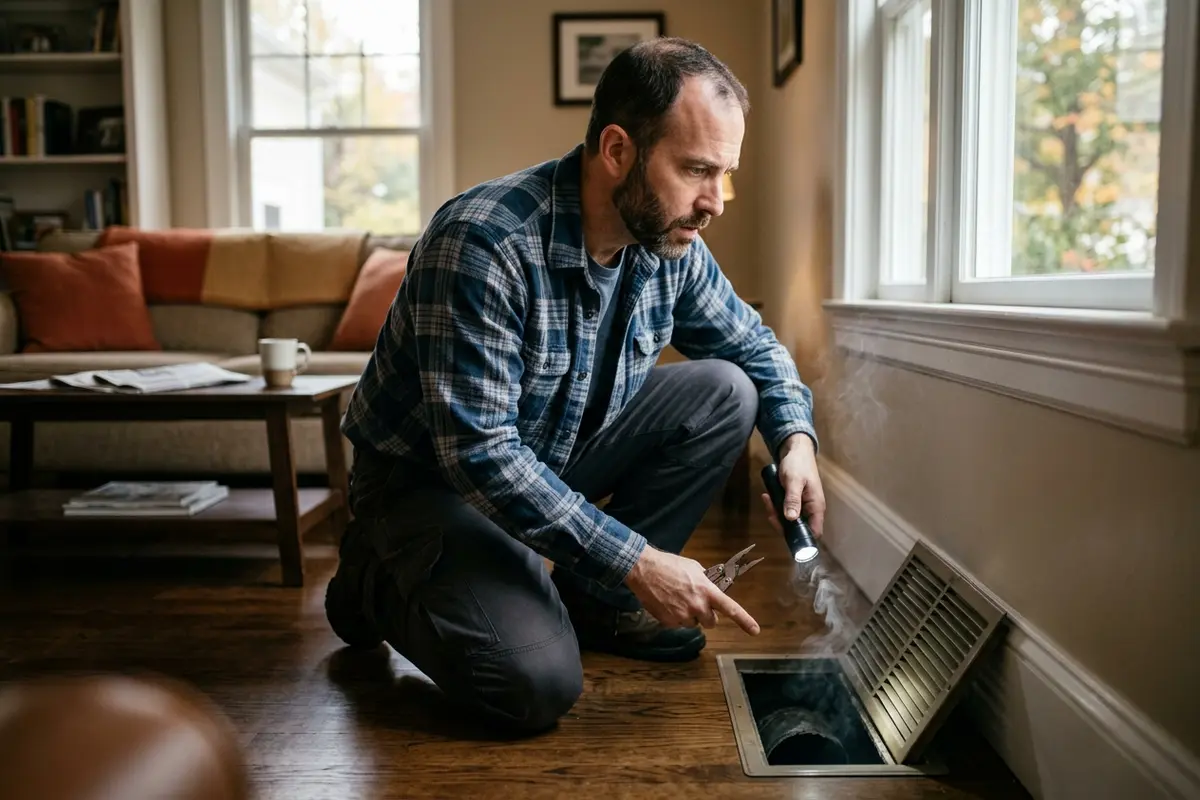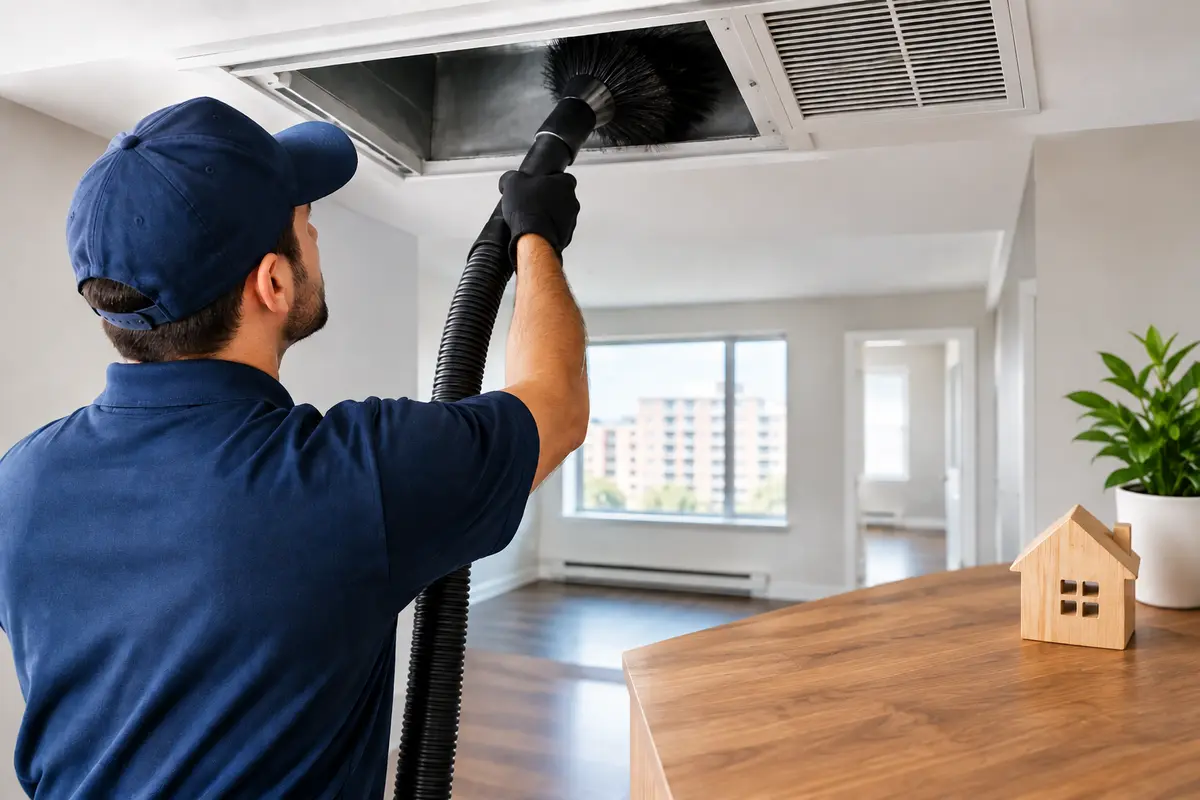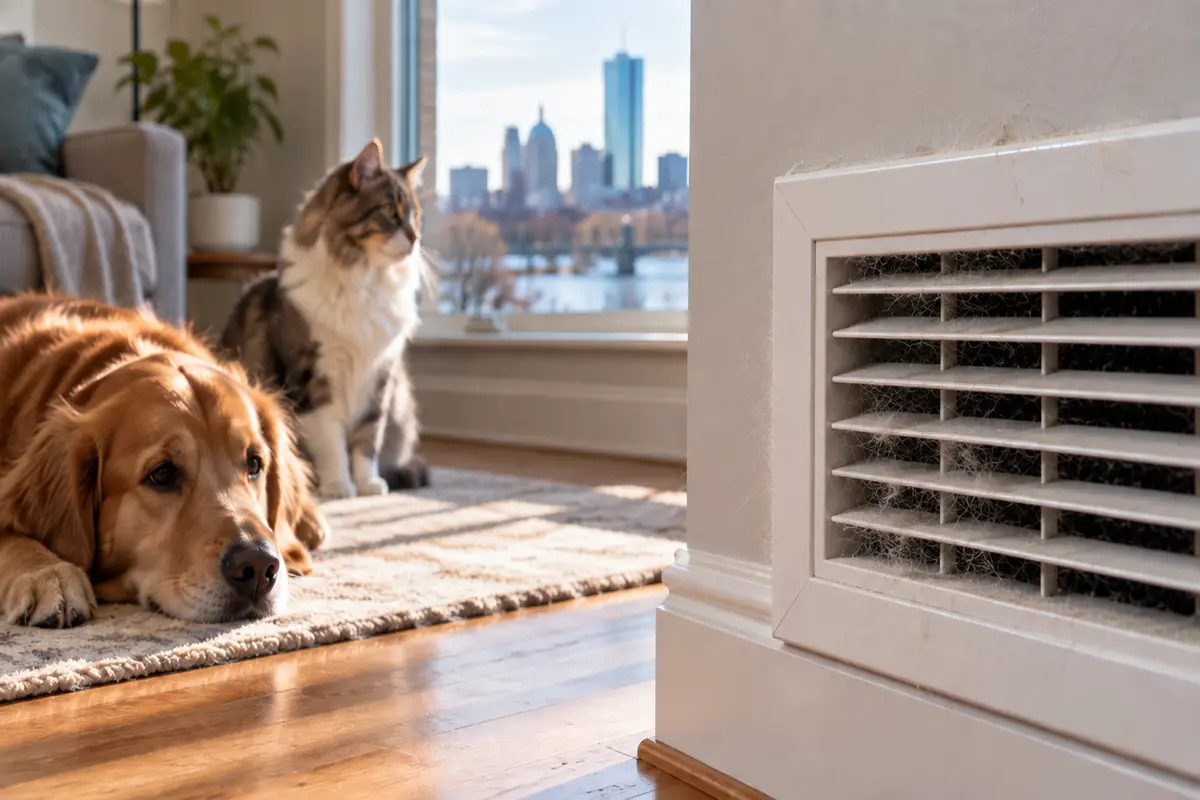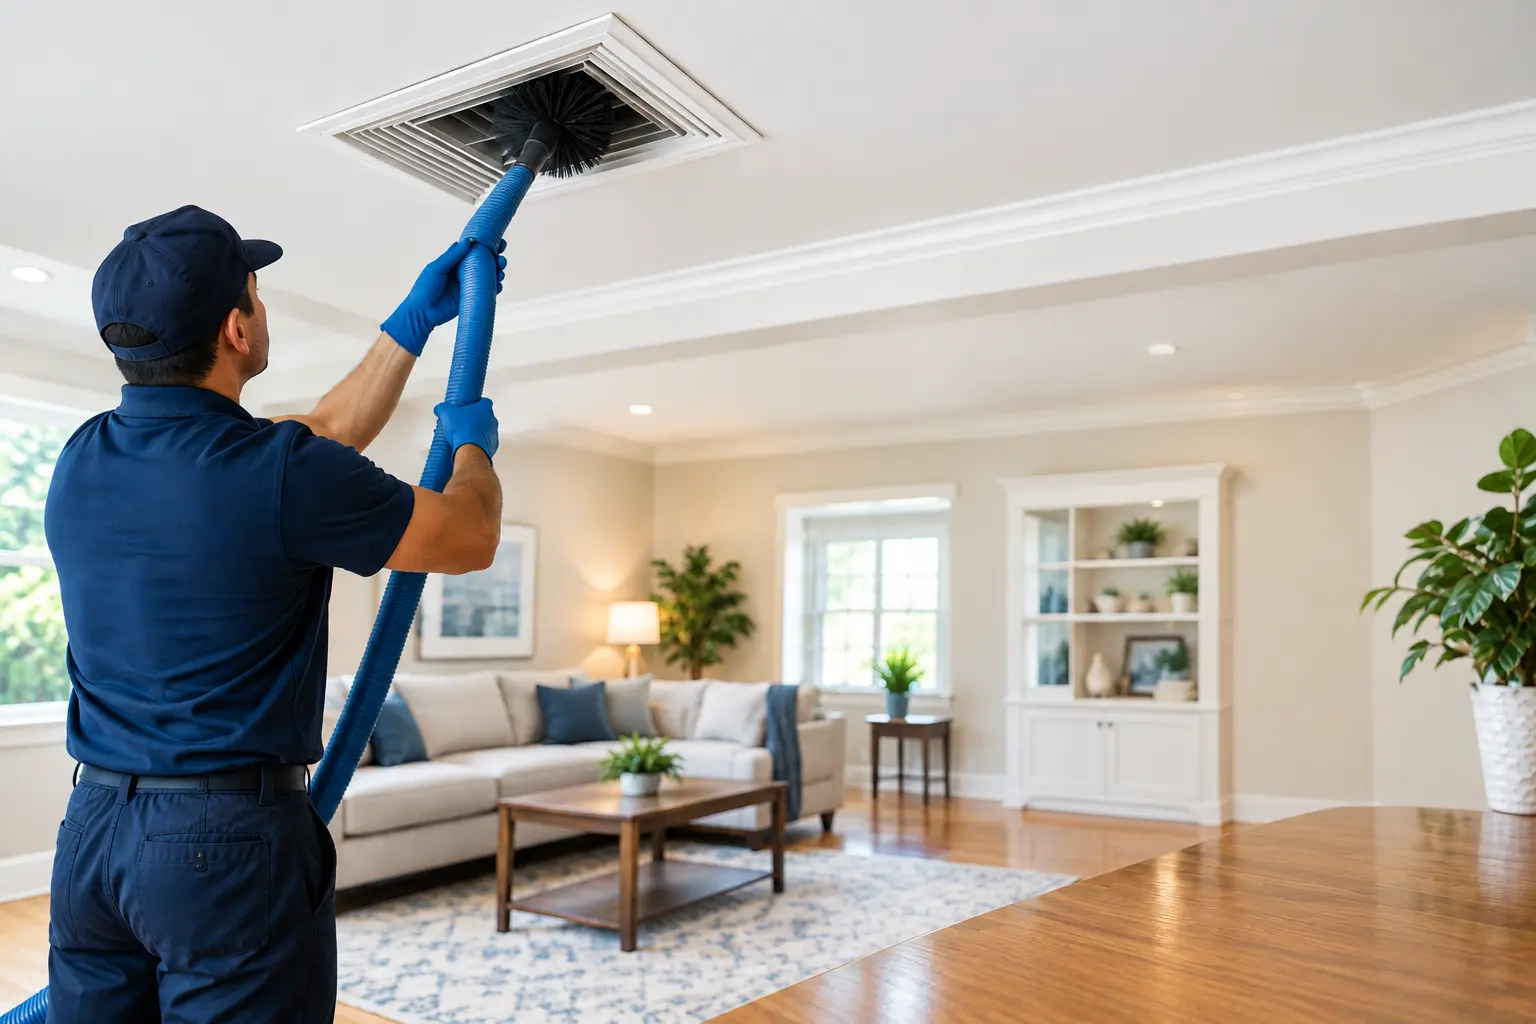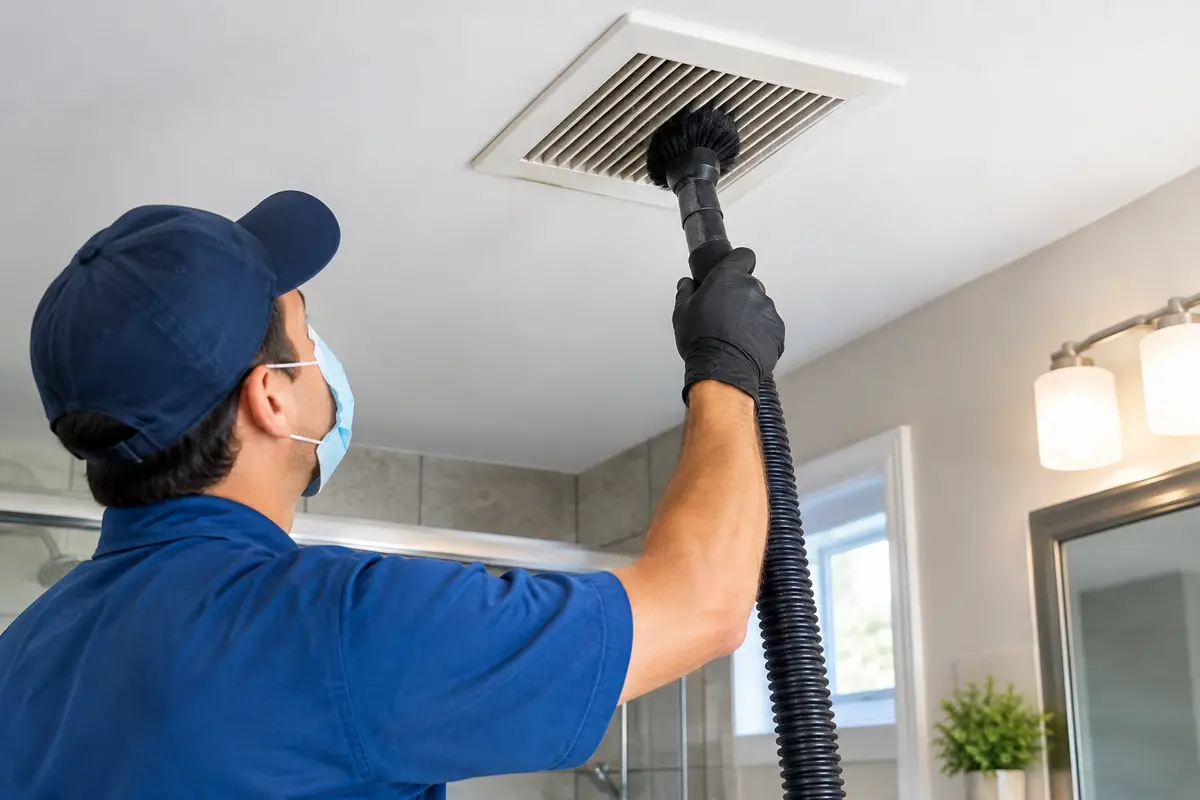
Most homeowners can safely handle basic dryer maintenance themselves, but there’s a real limit to what a $30 hardware store kit can actually reach. Cleaning dryer duct vent thoroughly requires understanding how far DIY tools can reach and where professional equipment becomes necessary. At Air Wolfe Air Duct Cleaning, based in Needham, we get called out constantly by homeowners across Needham, Newton, and Boston who tried the DIY route first and either got stuck partway through or want to know if it’s even worth attempting. This guide walks through the full DIY process, the tools you need, exactly where those tools stop working, and how to tell when it’s time to hand the job to a professional.
Signs Your Home Needs Cleaning Dryer Duct Vent Service
Before grabbing any tools, confirm you actually have a problem:
- Your dryer isn’t drying clothes properly, and loads take noticeably longer to dry than they used to, sometimes requiring two cycles.
- The dryer or laundry room feels unusually hot during a cycle.
- You notice a faint burning or scorched smell when the dryer is running.
- The exterior vent flap doesn’t open easily, or barely moves, when the dryer is running.
- Visible lint has built up around the dryer, the exterior vent cap, or the connector hose.
- It’s been over a year since the duct was last cleaned.
If you’re seeing two or more of these, it’s time to clean the vent, DIY or professional.
How to Clean a Dryer Duct Vent Yourself: Step-by-Step
Tools you’ll need: a dryer vent brush kit (flexible rods with a brush attachment), a vacuum with a hose attachment, a screwdriver, and a helper to move the dryer.
- Unplug the dryer and shut off the gas valve if you have a gas dryer. Never skip this step; you’ll be disconnecting the vent line, and a running unit is a real hazard.
- Pull the dryer away from the wall carefully, with a second person helping if needed.
- Disconnect the vent hose from both the back of the dryer and the wall connection point.
- Vacuum the connector hose and the wall opening to remove loose lint before brushing.
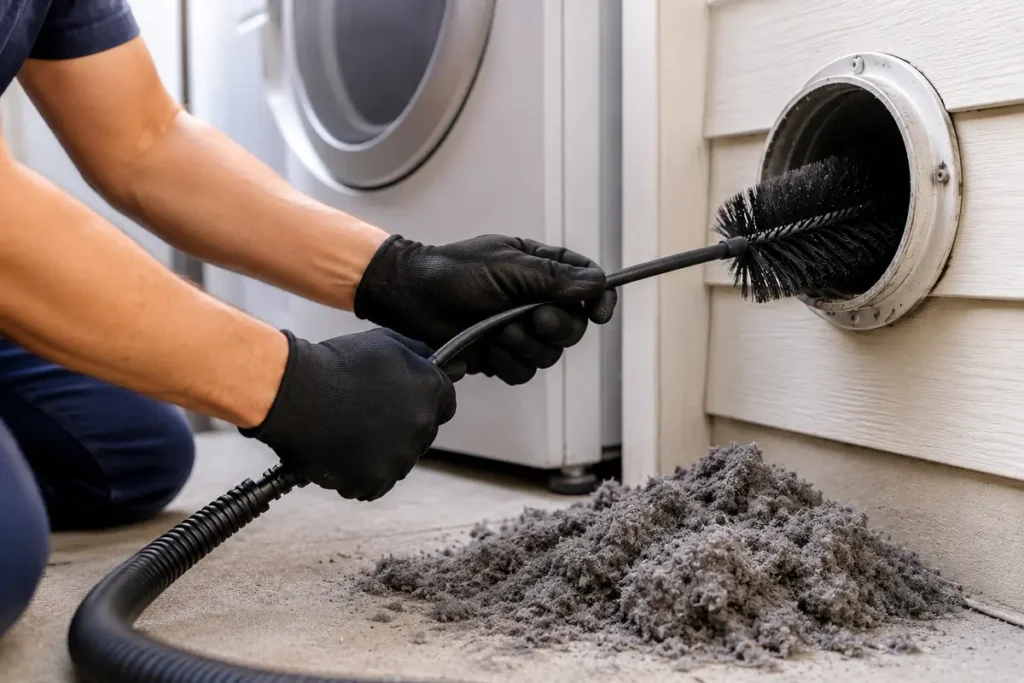
- Feed the brush kit into the wall duct, rotating as you push it forward to loosen compacted lint. Follow behind with the vacuum to pull debris out rather than pushing it deeper.
- Go outside and clean the exterior vent cap. Remove the cover, clear out lint, nests, or debris, and check that the flap moves freely.
- Reconnect everything, secure the connections with clamps (not just tape), plug the dryer back in, and turn the gas valve back on if applicable.
- Run a 15-minute test cycle with nothing in the dryer to clear any remaining loose lint through the system.
Most DIY jobs take 30 to 60 minutes for a straightforward, short vent run.
Where DIY Dryer Duct Vent Cleaning Kits Fall Short
This is the part most how-to guides skip, and it’s the most important thing to know before you start: most consumer brush kits only reach 10 to 15 feet, while residential dryer vents commonly run 15 to 35 feet once you account for wall runs, floor transitions, and code-allowed elbows. If your kit’s rods run out before you reach the exterior wall or roofline, you haven’t finished the job; you’ve cleaned the accessible section and left the rest, which is usually where the worst buildup actually is.
Two specific risks come up often with DIY kits on longer runs:
Pushing lint into a compacted ball instead of removing it. When a brush can’t quite reach the end of the line, it’s easy to push loosened lint further down the duct instead of extracting it, creating a denser blockage than you started with.
Puncturing flexible duct material. Stiff brush bristles can tear thin, flexible ductwork, especially at bends. A punctured duct leaks hot, humid dryer exhaust into a wall cavity or attic space, which can lead to mold growth, a worse problem than the lint you were trying to remove.
If your brush kit stops moving before you feel it reach open air outside, stop. Pushing harder usually makes things worse, not better.
How Often Cleaning Your Dryer Duct Vent Should Happen in Needham
Most homes should plan on cleaning the dryer duct vent once a year. Households running multiple loads a day, homes with pets, or anyone who’s noticed the warning signs above should move to every six to nine months. There’s a practical timing reason to do this before the New England heating season specifically: a partially blocked dryer vent forces the appliance to run longer and hotter to finish a load, and that extra strain compounds during the months your furnace or forced-air system is also working overtime. Doing both around the same time, dryer vent cleaning and a duct or furnace check, is a reasonable seasonal pairing for most Needham-area homes heading into fall.
When to Stop DIYing and Call a Professional
Call a professional instead of continuing the DIY approach if any of these apply:
- Your vent run is longer than about 15 feet, or you’re not sure how long it actually is
- The vent has multiple bends or elbows, which reduce airflow and make a brush kit far less effective.
- The exterior vent exits on the roof, requiring ladder access.
- You’ve completed the DIY steps above, and the warning signs haven’t improved.
- You have a gas dryer, and if you have any doubt about the gas line connection, this isn’t the place to guess
- The brush kit gets stuck or won’t move freely partway through the duct.
A professional uses rotary brush systems paired with high-CFM vacuum extraction that reaches the full length of the vent, not just the first several feet, and verifies airflow is actually restored before calling the job done, something a DIY kit can’t confirm on its own. If you want the full breakdown of what a professional visit includes, see our guide on what professional dryer duct cleaning actually covers.
FAQs
- How long does cleaning a dryer duct vent take myself?
Most DIY jobs take 30 to 60 minutes for a short, accessible vent run. Longer or more complex runs take longer and may not be fully DIY-able at all. - What tools do I need for cleaning a dryer duct vent?
A flexible brush kit sized to your duct diameter (usually 4 inches), a vacuum with a hose attachment, and a screwdriver for disconnecting clamps. Kits typically cost $20 to $50. - Can cleaning a dryer duct vent myself actually cause damage?
Yes, if the brush punctures flexible ductwork or if loosened lint gets pushed into a compacted mass instead of extracted. Both are real risks on longer or bent vent runs. - Is cleaning a dryer duct vent different from cleaning the lint trap?
Yes. The lint trap is inside the dryer and should be cleaned before every load. The duct vent is the separate exhaust pathway running from the dryer to the outside of the home, and needs its own periodic cleaning. - How do I know if I actually finished cleaning the dryer duct vent, or just the accessible part?
If your brush kit’s rods ran out before you felt the brush reach the exterior opening, or before you saw daylight from the outside vent, you likely didn’t clean the full length. That’s the point where a professional with longer, more powerful equipment is worth calling.
Need the Full Length Cleaned, Not Just the Accessible Part?
Air Wolfe Air Duct Cleaning serves Needham, Newton, Boston, and the rest of Greater Boston with equipment that reaches the entire vent run, not just the first several feet. If your DIY attempt stalled out or you’d rather skip straight to a thorough job, call (617) 991-6651 or email Info@airwolfeairductcleaning.com to schedule service.